Assalamualaikum wbt....
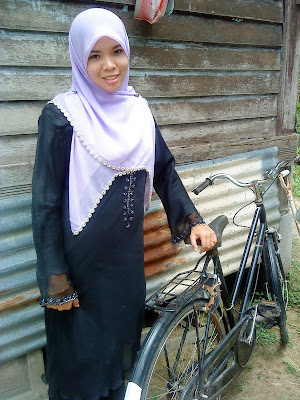
Atas permintaan ramai oleh kenalan2 dan sahabat2 melalui email dan friendster untuk belajar cara mengedit gambar melalui Adobe Photoshop ni, maka aku dengan berbesar hati mengupload untuk korang basic jerlah ek. Yang penting, bila dah tahu basic boleh lah korang nk godek2 sendiri ikut suka hati gambar yang korang suka... Gambar di bawah ni adalah model yang tak berbayar dan tak dilantik pun... hehe... Untuk mendapatkan effect artistic begini aku gunakan software Adobe Photoshop CS2. Selamat mencuba!

Gambar selepas di edit...

Gambar Asal...

open selected photo. You may choose any one of your fave photo.

click image>adjustments>hue/saturations : ( saturations -69) > ok

Click Filter>noise>add noise ( amount;12.16% )

Use burn tool to get burned effect around your photo. Your photo also will looks artistic and misty.

To make border of photo, firstly; use Rectangular Marquee Tool (M) to highlight the photo.

After photo selected, right-click on photo> stroke ( width: 20px, color: white) > ok

And there you have it! This is a pretty simple one and I am sure you will do it better than mine with some more tries. Thanks for reading.
 Gambar selepas di edit...
 Gambar Asal...
 open selected photo. You may choose any one of your fave photo.
 click image>adjustments>hue/saturations : ( saturations -69) > ok
 Gambar selepas di edit...
 Gambar Asal...
 open selected photo. You may choose any one of your fave photo.
 click image>adjustments>hue/saturations : ( saturations -69) > ok
No comments:
Post a Comment
Sila Tinggalkan Pesanan Anda di sini... Peace!!!